Hiking in New England is a popular pastime, with stunning trails that attract people from all over the world. I spend most of my free time hiking throughout the White Mountains, and my favorite summit is Boncliff. However, if you recently suffered an injury, returning to hiking may seem like an overwhelming challenge. As a physical therapist and an experienced hiker, I know firsthand how important it is to have the right knowledge and tools to get back on the trails safely. Here are some tips for returning to hiking in New England after a recent injury.
Consult with Your Physical Therapist
If you've had a recent injury, it's essential to consult with your physical therapist before returning to hiking. We can assess the extent of your injury, evaluate your range of motion, and recommend exercises and modifications to help you get back on the trails safely. If you are trying to return to trail running, your physical therapist can perform a personalized running or gait analysis to enhance your running mechanics, efficiency, and prevent further injury. Your physical therapist can also advise you on when it's safe to resume physical activity, so you can plan your outdoor adventures appropriately.
Choose the Right Footwear
The right footwear is crucial for hiking safely. Choose shoes or boots that provide adequate arch support and ankle stability. Look for shoes with a wide toe box that allows for proper toe splay and reduces pressure on your foot. If you have experienced a recent ankle injury or find yourself frequently rolling your ankles, consider wearing a mid or high ankle hiking boot.
Invest in Trekking Poles
Trekking poles can be a valuable tool for hikers returning to the trail after an injury. They provide extra support, stability, and reduce the impact on your joints. When using trekking poles, adjust them to the appropriate height so your arms are bent at a 90-degree angle when holding them on flat terrain. It can help to shorten your poles while going uphill and lengthen them while going downhill. Additionally when stepping down rough terrain, try placing your poles in front of your body wider than your shoulders for increased stability and control while you descend.
Choose an Appropriate Trail
When you're ready to return to hiking, start with a familiar trail that's within your comfort zone. Choose a trail with gradual elevation gain and descent, as well as fewer obstacles and easier terrain. Pick a trail with a possible bail out option in case you begin to feel your symptoms. The mileage you choose may depend on your injury, previous activity level, and experience hiking. It’s best to create a personalized return to hiking program with your physical therapist.
Listen to Your Body
It's essential to listen to your body when returning to hiking after an injury. Pain or discomfort during a hike is a sign that you may be pushing yourself too hard. Take breaks when needed, and pay attention to how your body is feeling throughout the hike. If you experience pain or swelling, stop and assess the situation. It's better to cut a hike short than to risk aggravating your injury.
Training Tips
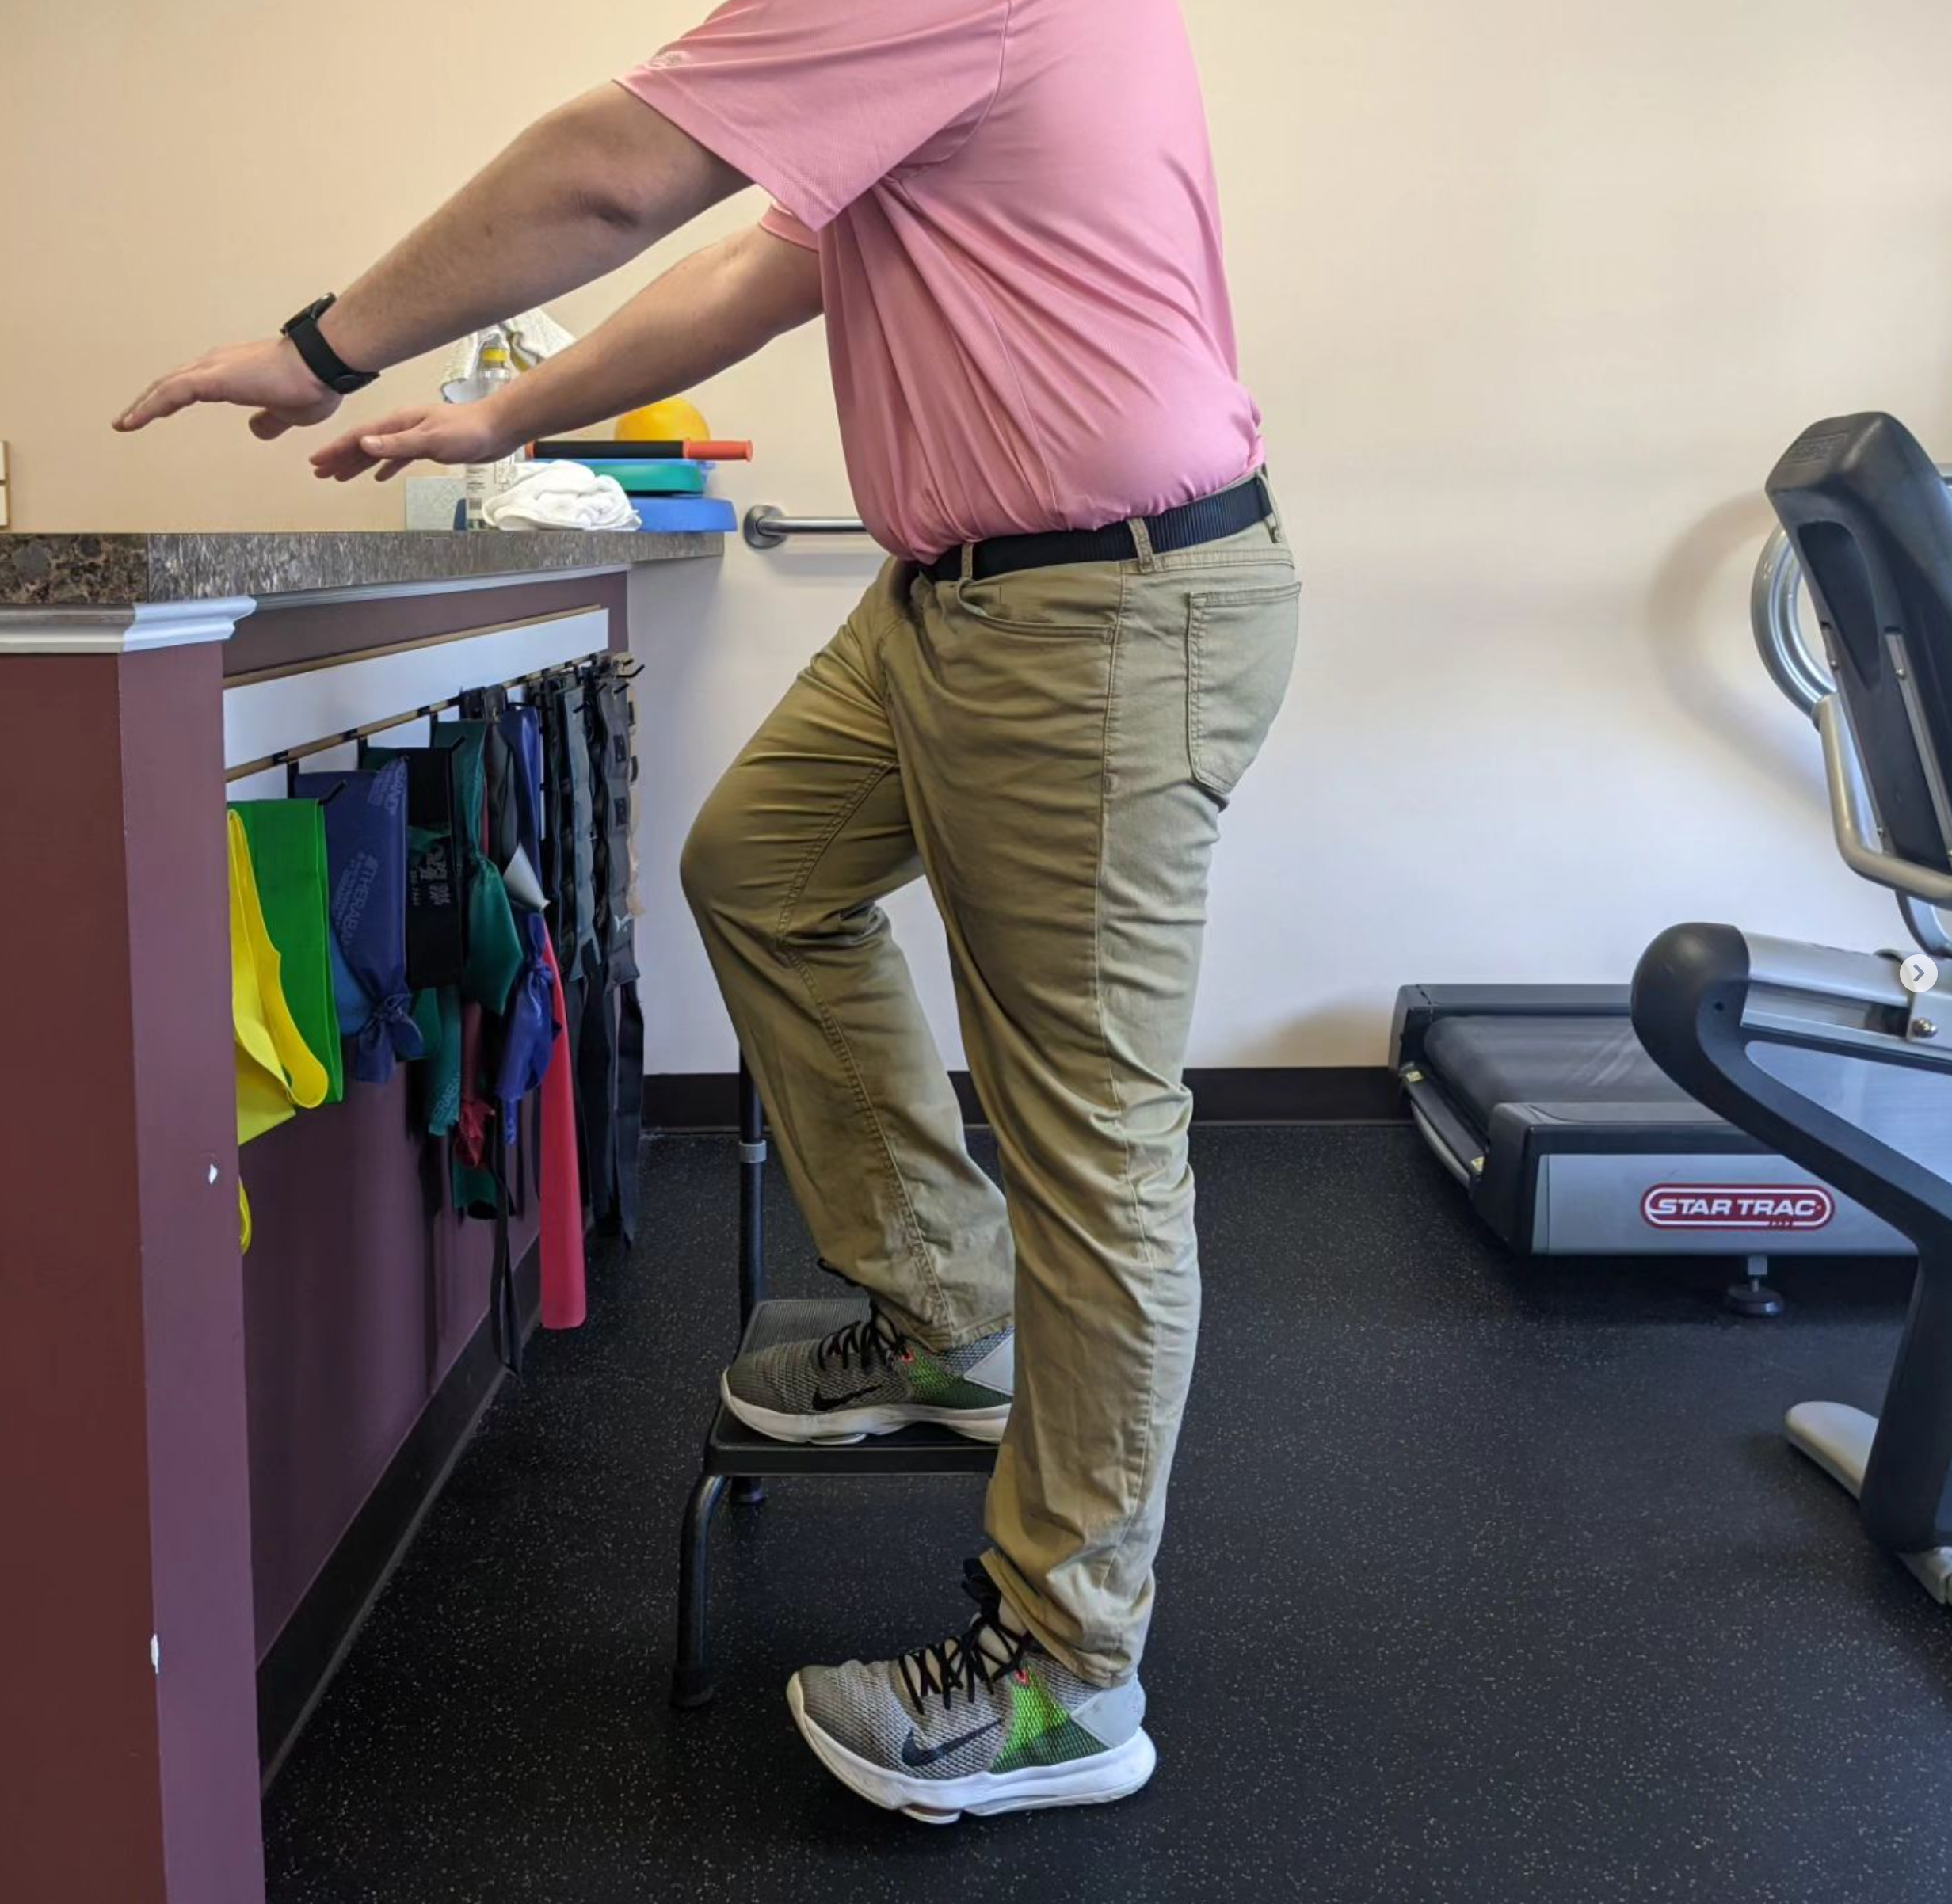
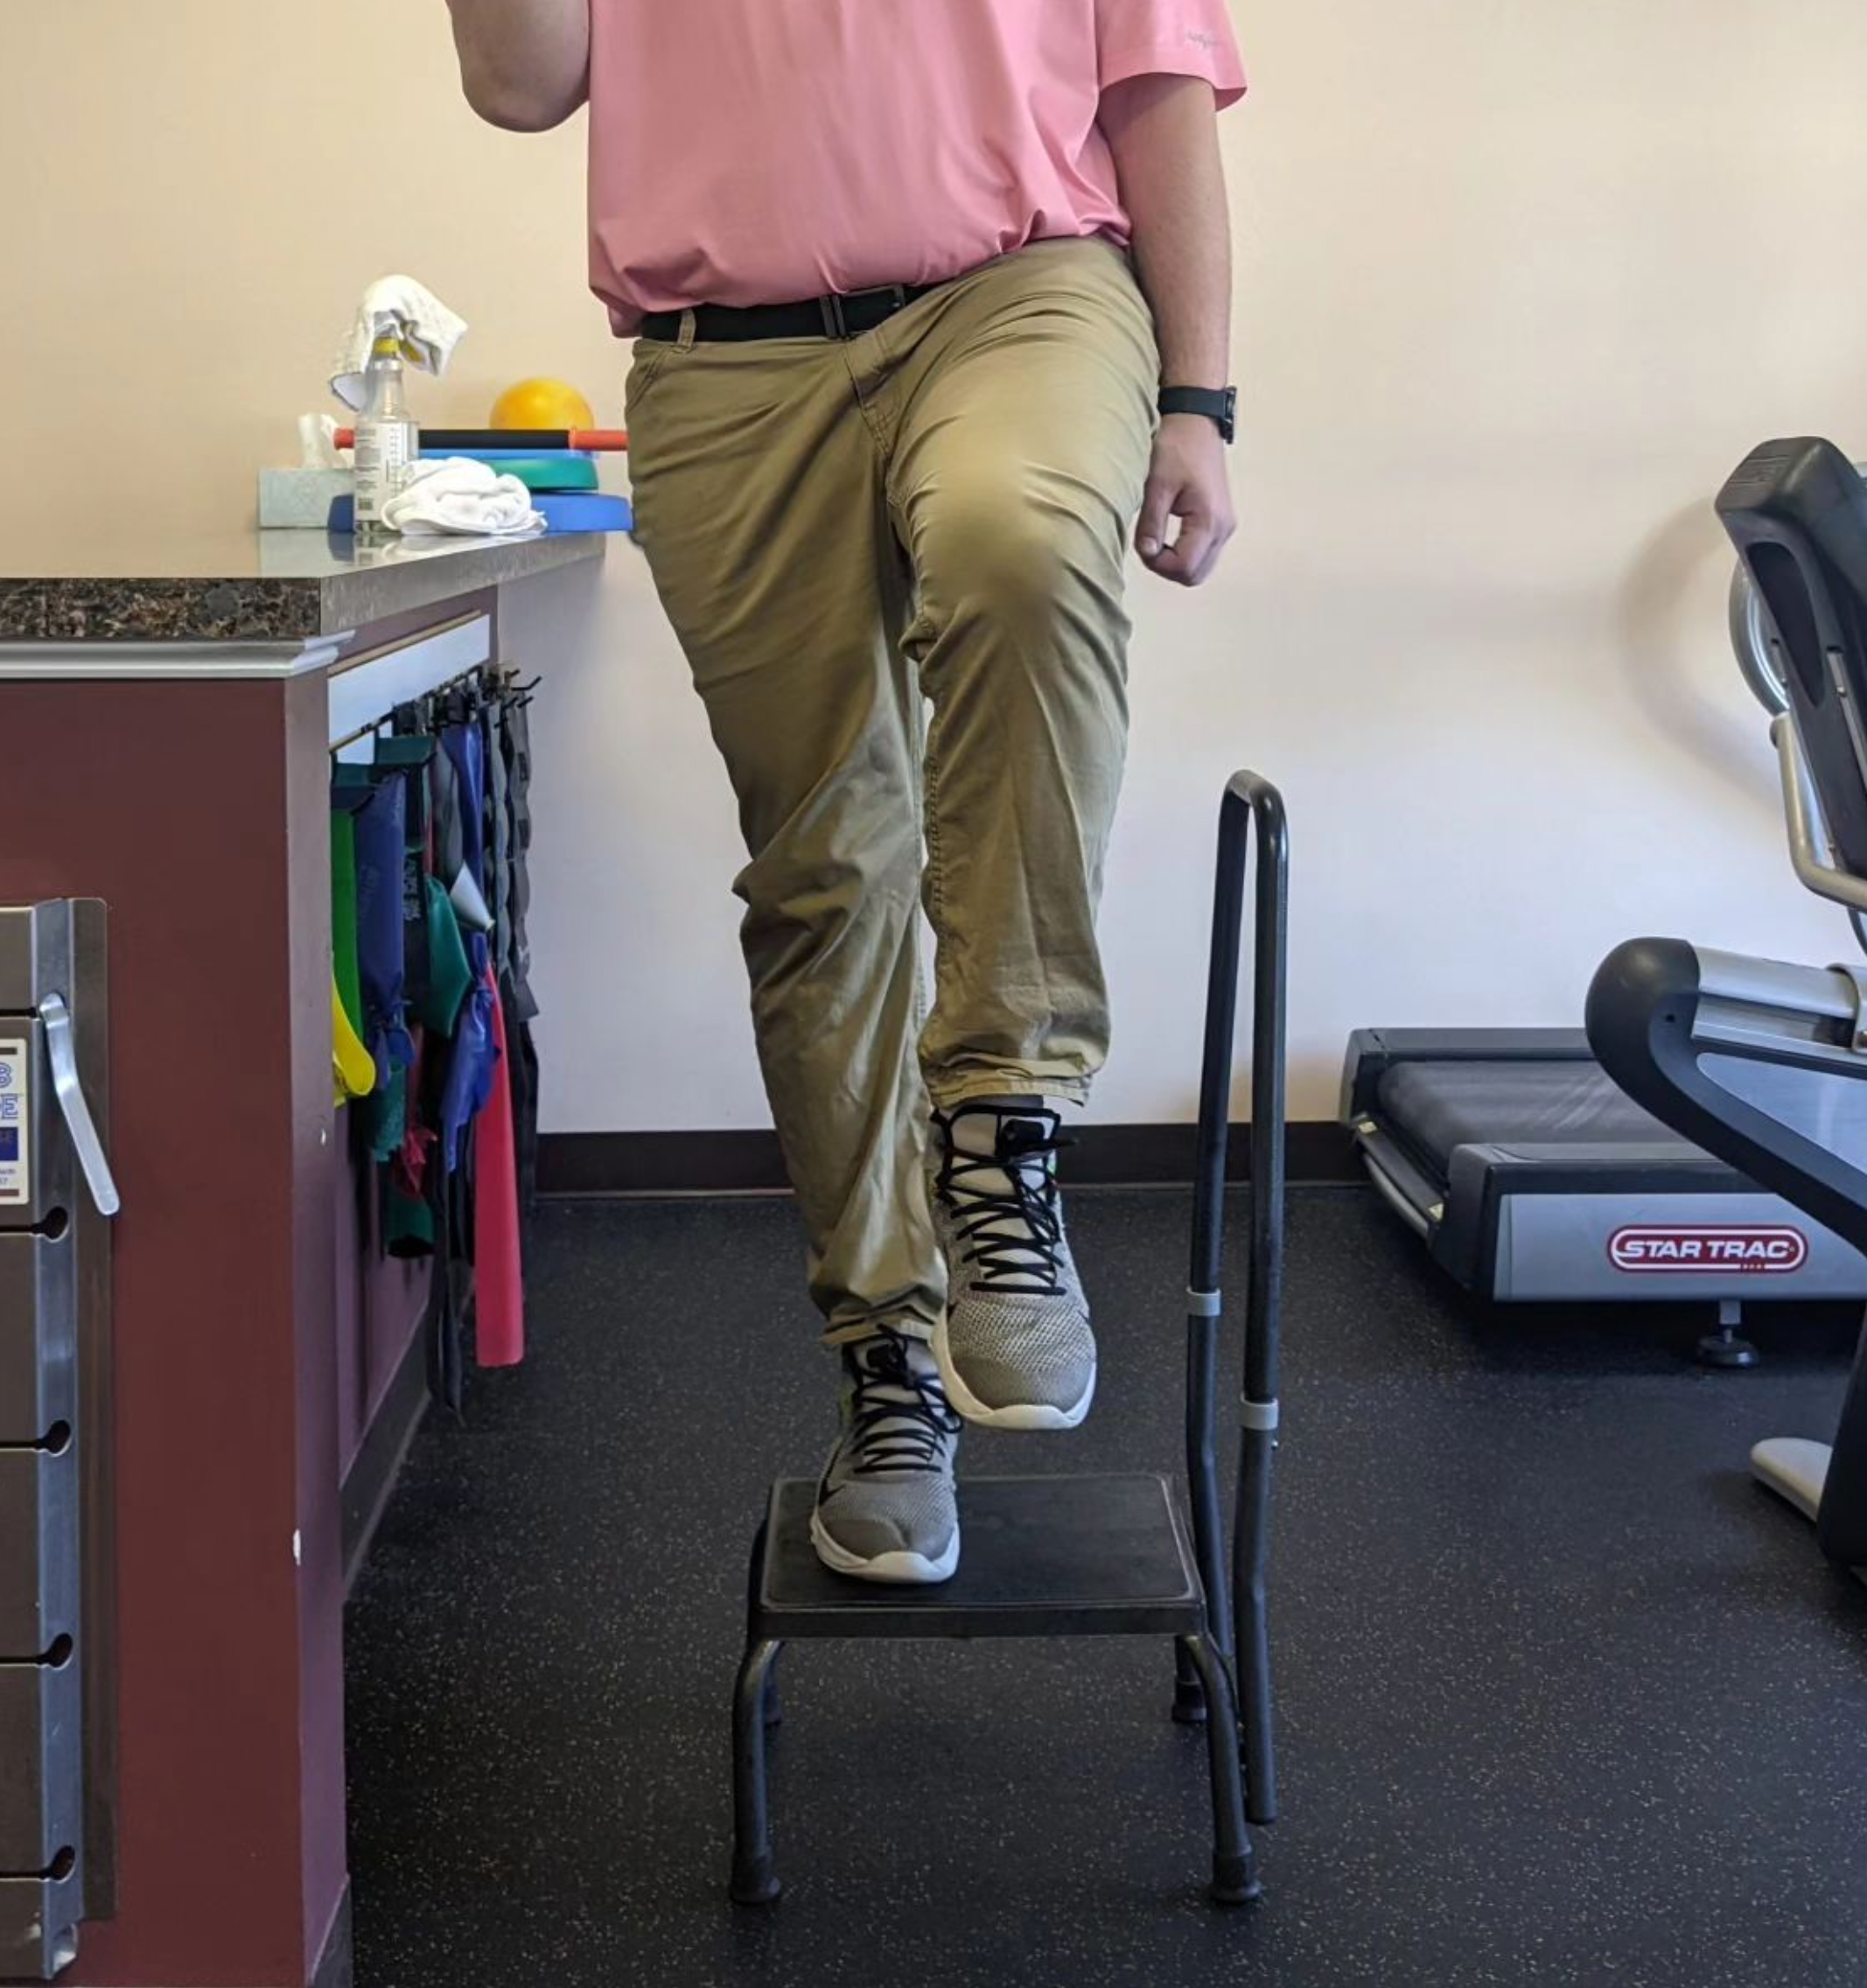
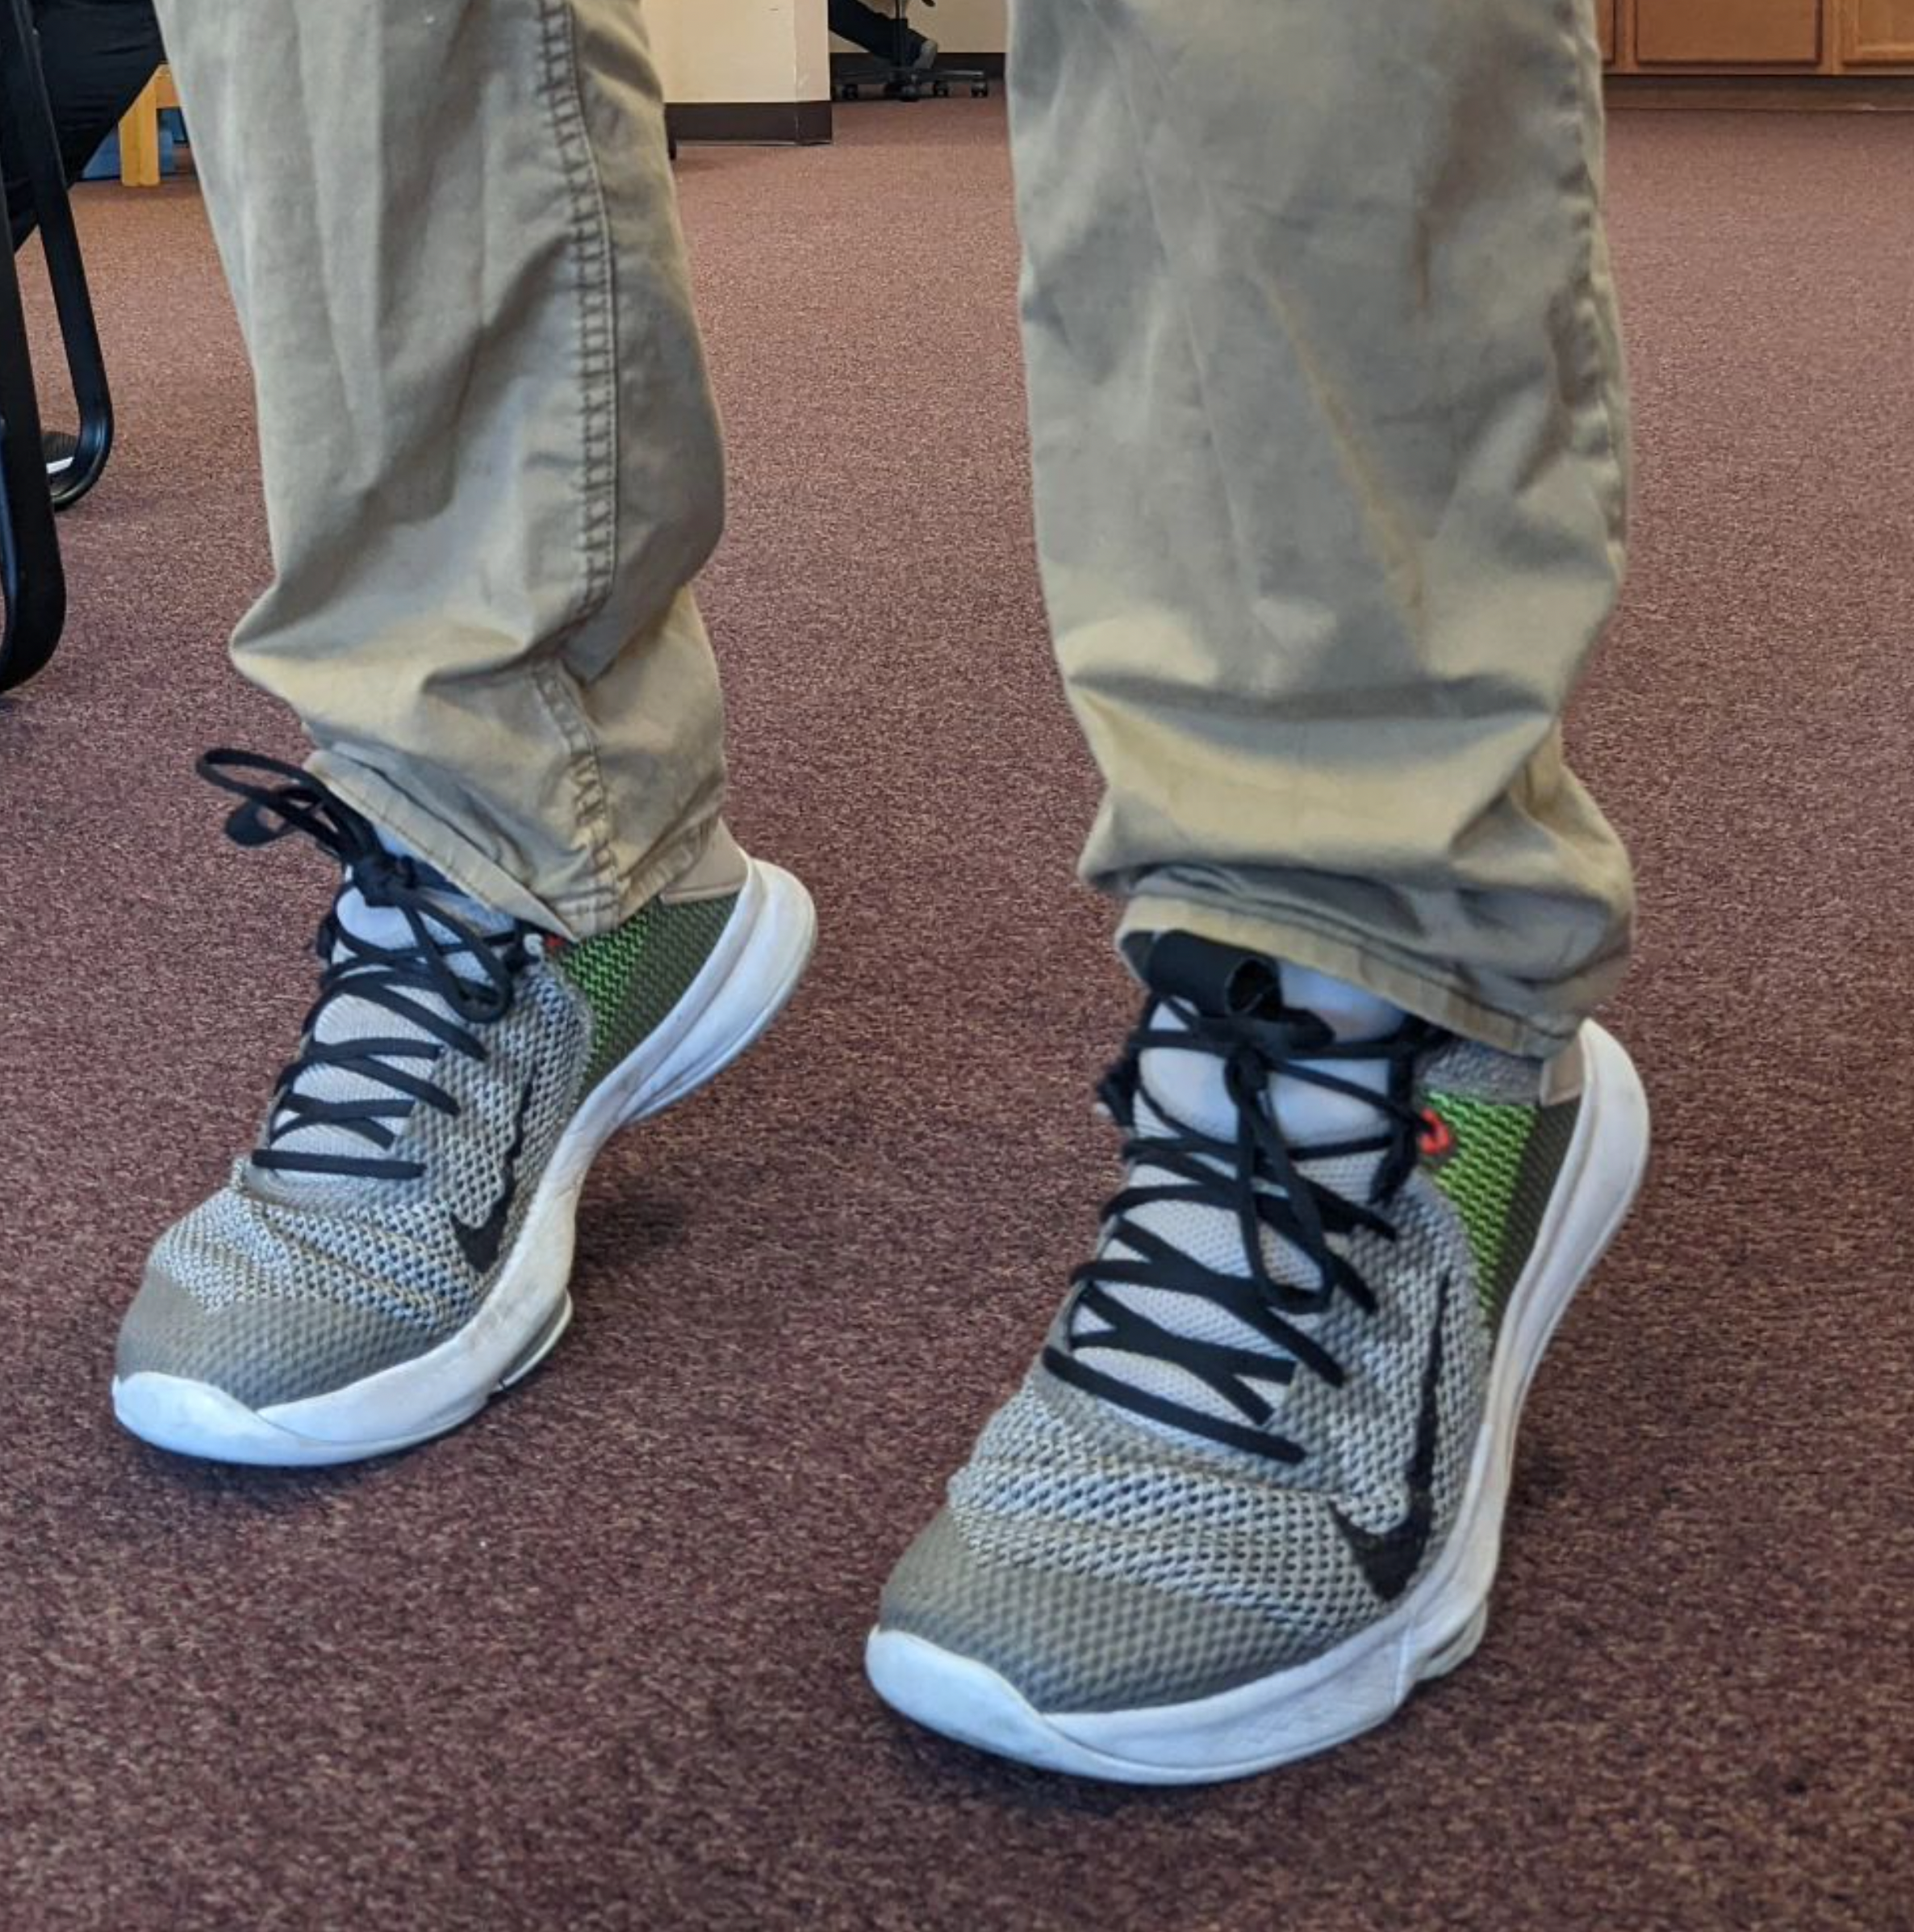
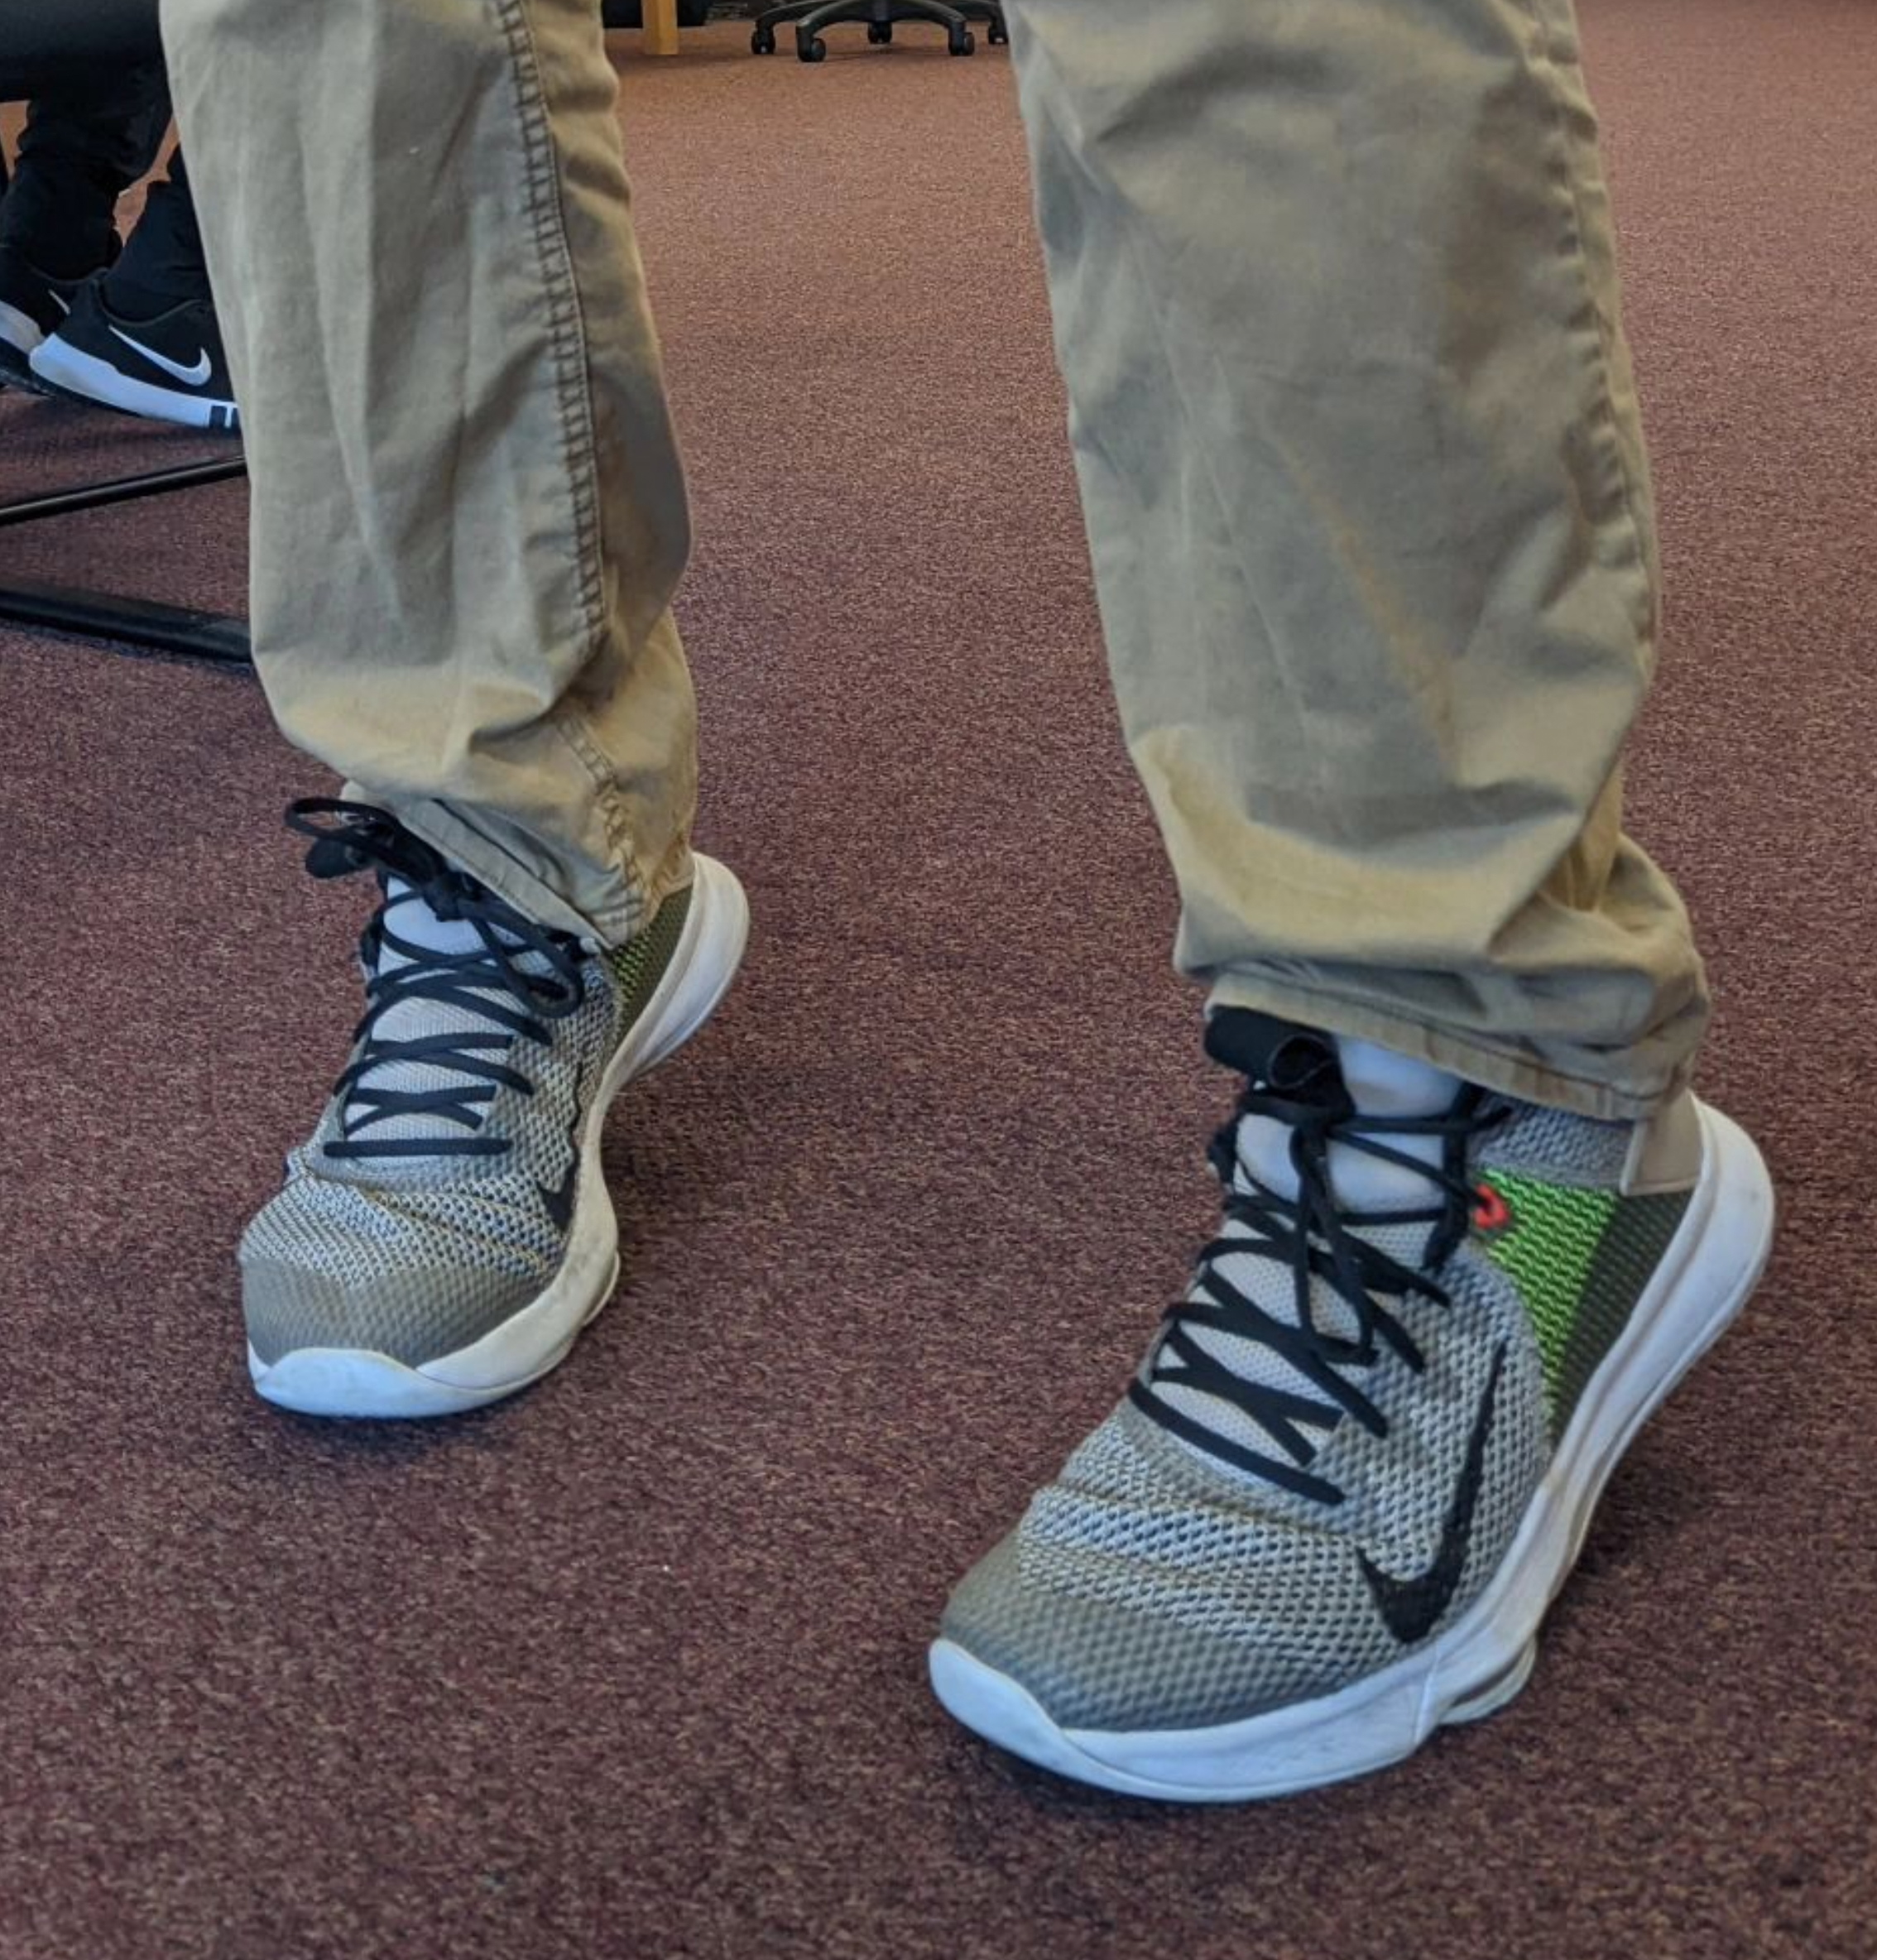
Hikers are prone to injury when they are tired and begin to let gravity do the work for them. Without proper quad and calf muscle control, you may experience excessive loading on your joints and moments of instability. This is why it’s important to focus on strengthening your legs and core to improve your uphill and downhill efficiency and reduce the risk of injury. Step-ups, step-downs, squats, standing hip abduction, and 3-way heel raises are great exercises to improve your lower extremity strength, stability, and control. Exercise descriptions are included below.
Exercises & Descriptions:
Squats:
Begin in a standing upright position in front of a chair. Lower yourself into a squatting position, bending at your hips and knees, until you lightly touch the chair. Return to the starting position and repeat. Make sure to maintain your balance during the exercise and do not let your knees bend forward past your toes.
Step-ups:
Begin standing with a small step or platform in front of you. Step up onto the platform with one foot then follow with your other foot. Return back down to the starting position and repeat. Make sure to maintain good posture during the exercise and do not let your knee bend forward past your toe as you step up.
Step-downs:
Begin by standing on a platform or step with one leg hanging off the edge.Maintaining an upright position, bend at your knee and hip, slowly lowering your foot to the ground, then return up to the starting position and repeat. Make sure not to let your trunk bend forward or your knee collapse inward as you lower your foot to the ground.
Standing Hip Abduction:
Begin in a standing upright position holding onto a stable object for support. Lift one leg out to your side, then slowly return to the starting position and repeat. Make sure to keep your shoulders and hips facing straight forward during the exercise.
3-way Heel Raises:
Begin in a standing upright position with your feet straight forward. Raise your heels off the ground, then slowly lower them back down to the floor and repeat. Make sure to keep your upper body still and avoid gripping with your toes. After completing a set, turn your feet inward and repeat. Then, repeat the set again with your feet turned outwards.
Returning to hiking in New England after an injury may seem challenging, but it's possible with patience and the right approach. Consult with your physical therapist for a personalized training program to aid in achieving your goals. Remember, hiking is about enjoying the beautiful scenery and connecting with nature, so take it one step at a time and enjoy the journey. See you on the trails!
~ Jessie Wild


